While the Northern Lights, also known as the Aurora Borealis, are often associated with the fall and winter seasons, we believe it's never too early to start preparing for your next encounter with this celestial spectacle.
Canada, with its vast and unspoiled landscapes, is one of the world's premier destinations for witnessing this awe-inspiring phenomenon. And while the Northern Lights are a seasonal phenomenon, planning ahead and equipping yourself with the right knowledge can greatly enhance your chances of witnessing this breathtaking display.
In this article, we'll share tips to help you navigate the intricacies of viewing the Northern Lights in Canada. So, whether you're a seasoned aurora chaser or embarking on your first expedition, prepare to be amazed as we unveil the secrets to experiencing the Northern Lights like never before.
Viewing the Northern Lights
The closer you are to the North Magnetic Pole, the better your chances of being able to admire the northern lights. That said, they can also be seen in more southerly parts of Canada during periods of intense solar activity.
Generally, the aurora appears a few hours after sunset, when the sky is clear, and tends to become more intense around midnight. If you are lucky enough to get to see the aurora up north, here's how to get the most out of your observation night.
Location
- Choose a location free of light pollution. The bright city lights that light up the sky make low-intensity auroras invisible.
Viewing conditions
- Check the aurora forecast to find out whether the northern lights will be visible in the sky near you.
- Visit Space Weather Canada for Canada's forecast of geomagnetic activity, which is responsible for the aurora borealis.
- Check the local weather forecast before leaving. Clouds, precipitation, and the full Moon make it difficult to see the aurora.
- Look all around you, not only north: auroras may appear anywhere in the sky.
- Check the position of the auroral oval in real time. Be sure to bundle up—it gets cold at night!
- Remember to bring your camera if you want to try to photograph the aurora.
Photographing the Northern Lights
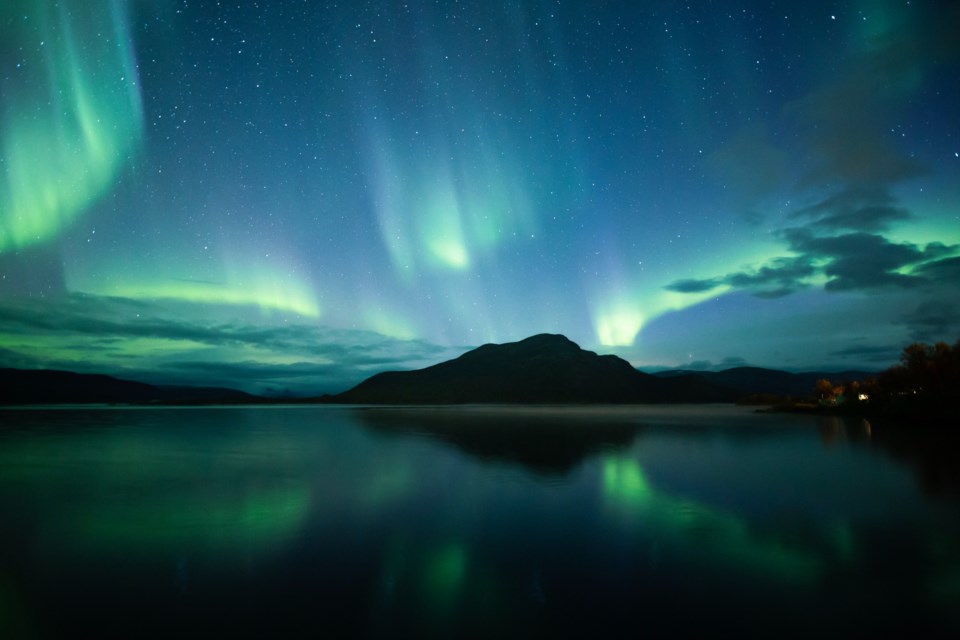
Shoot in clear areas as much as possible, but feel free to try areas where landscape elements in the foreground could lend visual appeal to your photos.
Equipment required
To photograph the northern lights, you will need the following equipment:
- a camera that is capable of long exposures (at least 10 seconds)
- a sturdy tripod, essential in order to prevent shaking
- a cable release or remote, also to prevent shaking
- a wide-angle lens (ideally)
Steps
Below are the three steps to taking great photos of the northern lights.
1. Find a spot
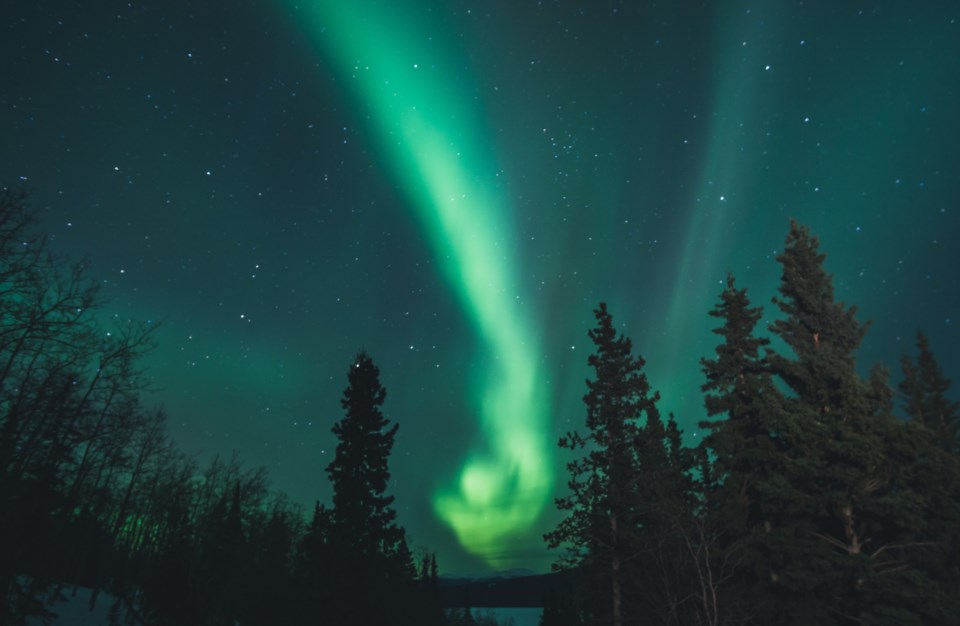
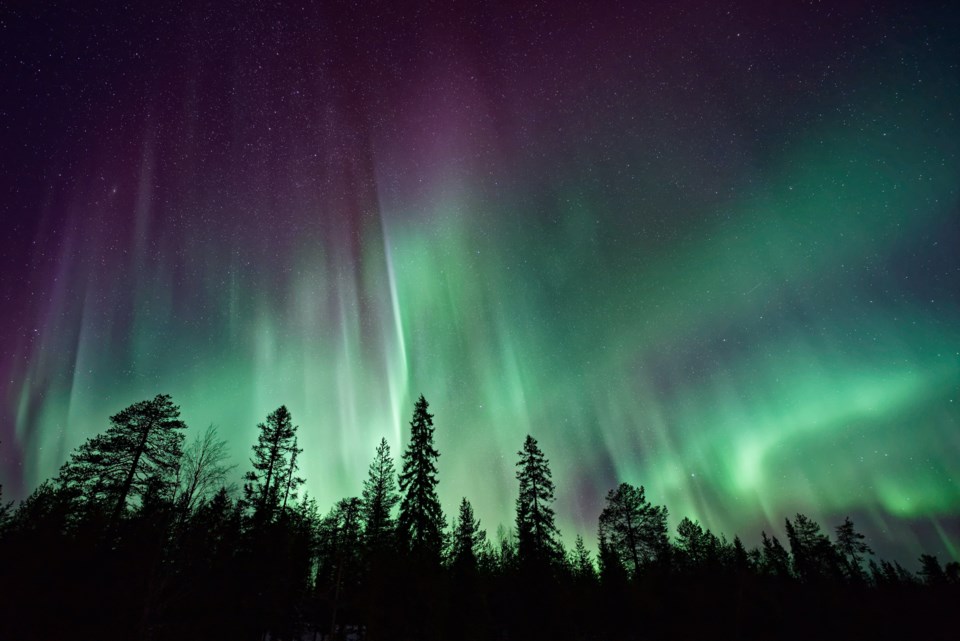
- Choose a dark location with a clear view of all horizons.
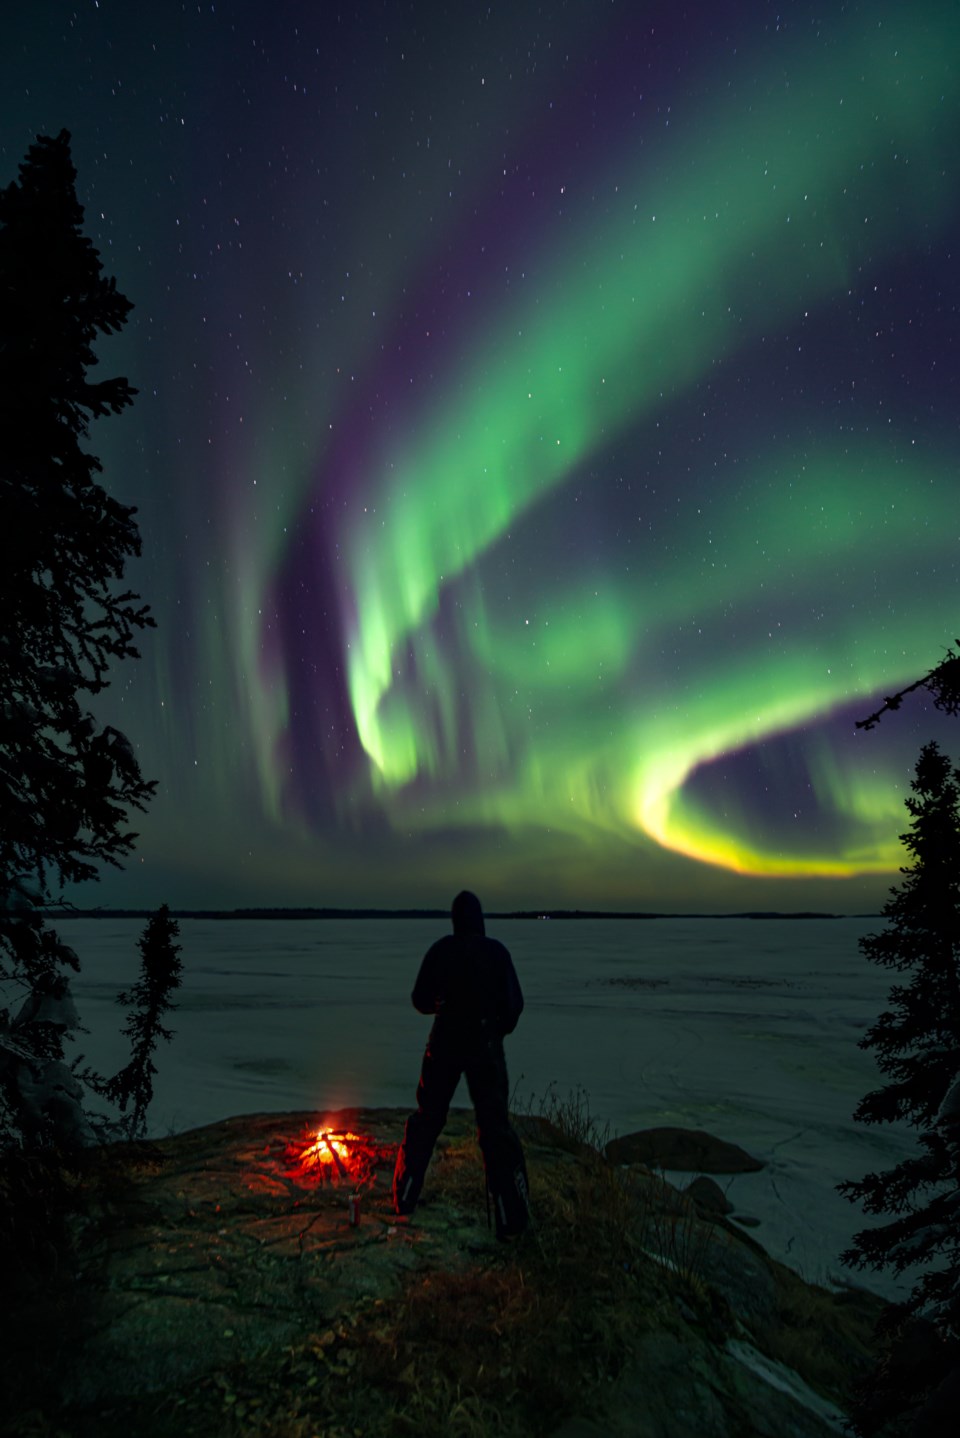
- Using a tripod, angle your camera so your image will include both the sky and the trees, or take an image straight up.
2. Adjust your settings
- Exposure: To prevent star trails from appearing in your photo, set your exposure time to between 10 and 25 seconds. Longer exposures will produce brighter images; however, if the aurora is moving quickly, the image will be fuzzy.
- Aperture: Set the aperture to the lowest possible configuration (f/2.8, f/3.5 or f/5.6, depending on the lens you are using) to ensure there is as much light as possible entering your camera.
- ISO: Set your film speed to either 400 ISO or 800 ISO to record light with sufficient detail. Higher film speeds collect more light and colour, but image quality is often grainy.
- Focus: Focus your camera on the stars. Set your lens on or near infinity for the stars to come into focus. If you are using a digital camera, take a practice photo of the stars and review the image to check the focus.
3. Start snapping
Experiment with different combinations of film speed and exposure length. Moonlight and auroras can change the light conditions quickly, so be prepared to adjust these settings at any time.
Have fun!


